17/01/2023, GPT-3
How to build a GPT3-powered app on WordPress without code
This step-by-step tutorial demonstrates how to build a GPT3-powered app on any self-hosted WordPress site without using any code.
In this tutorial, we will build a simple app that takes a simple message input and generates a formatted response in a tone appropriate for the selected recipient.
The steps used in building this app can be easily adapted to other use cases. For example, GPT-3 could be used for almost any form of content generation, as a chatbot, a translator, or to classify data. See more example use cases here or look at some of the GPT-powered tools I have created for further inspiration.
Pre-requisites
1) Access to a self-hosted WordPress website.
2) Download and install the Gravity Forms WordPress plugin ($59).
3) Download and install the Gravity Forms add-on “Populate Anything” ($59).
4) An OpenAI API key.
Register a free account at OpenAI. You will receive $18 of free credit as a new user.
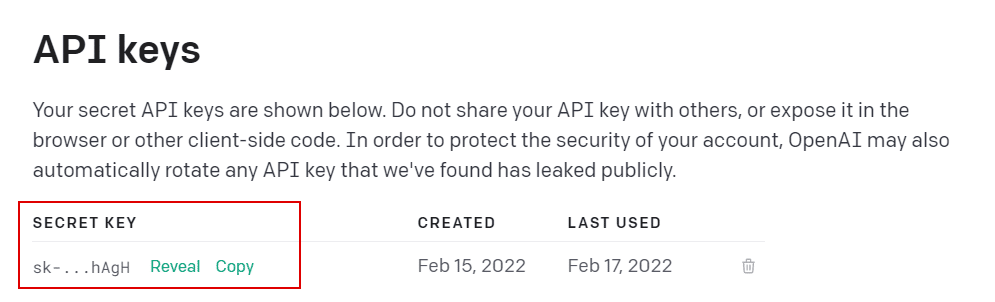
Once your OpenAI account is registered, grab your secret API key and save it to a document on your device.
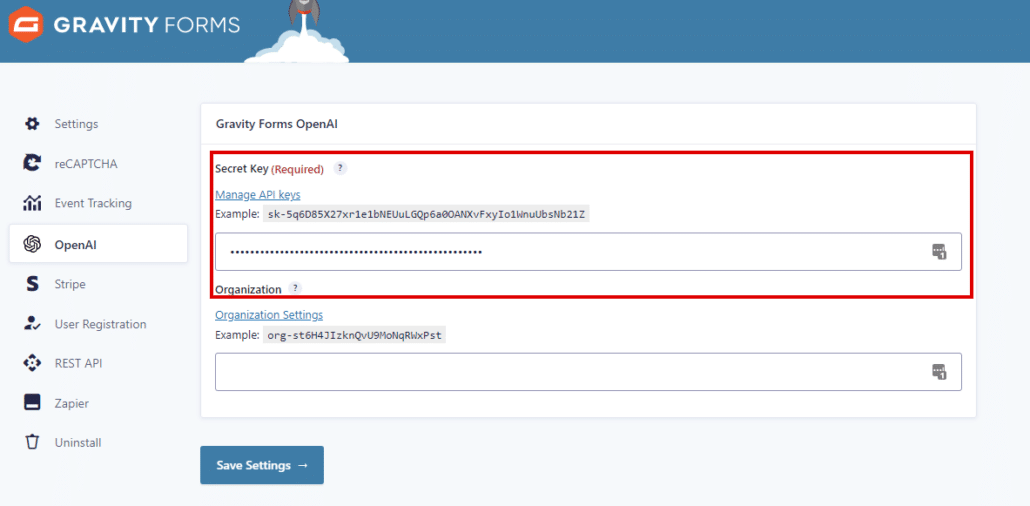
5) Download and install the free Gravity Forms OpenAI add-on (Free).
Enter your OpenAI API key in the add-on settings.
Video Tutorial
Part One (22 mins) – Configuring the Form
Part Two (15 mins) – Creating the App Page
Instructions & Resources
Creating the form
1) Create a new Gravity form and note down the ID number of the form.
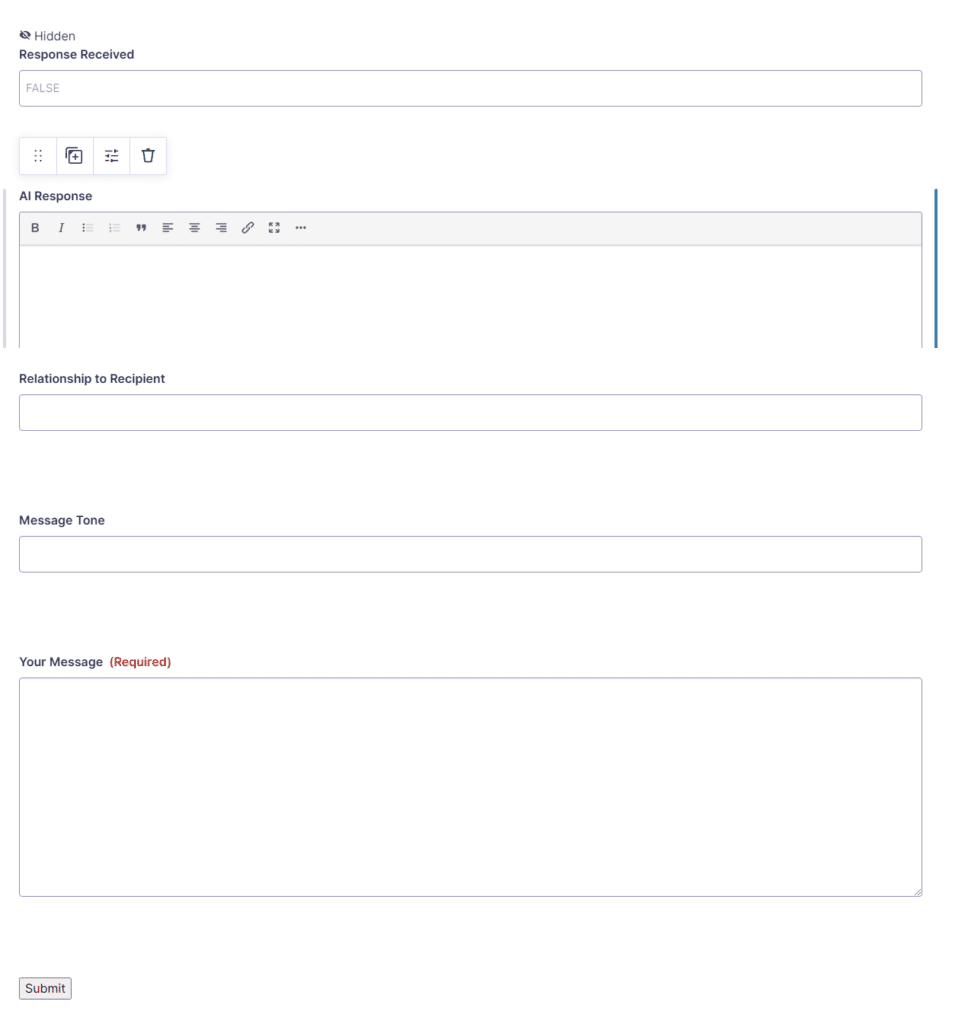
2) Add a single text field named ‘Response Received’.
Field settings:
Advanced > Visibility = Hidden
Allow field to be populated dynamically = True
Parameter Name = recd
3) Add a Paragraph text field named ‘AI Response’.
Field settings:
Advanced > Visibility = Visible
Use the Rich Text Editor = True
Allow field to be populated dynamically = True
Parameter Name = response
Condition Logic = Active
[Show] this field if [All] of the following match:
[Response Received] [is] [TRUE]
4) Add a single text field named ‘Sender’s Name’.
Field settings: Default settings
5) Add a single text field named ‘Recipient’s Name’.
Field settings: Default settings
6) Add a single text field named ‘Relationship to the Recipient’.
Field settings: Default settings
(Optional: Make this a ‘drop down’ field to improve usability.
7) Add a single text field named ‘Message Tone’.
Field settings: Default settings
(Optional: Make this a ‘drop down’ field to improve usability.
8) Add a Paragraph text field named ‘Your Message’.
Field settings:
General > Maximum Characters = 500 (optional)
Rules > Required = True
Save the form
OpenAI Settings
1) OpenAI Endpoint = Completions
2) Completions > OpenAI Model = text-davinci-003
Prompt (Copy and paste the example prompt below):
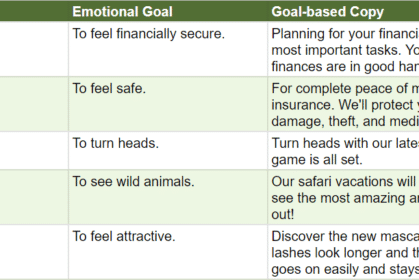
Generate an HTML formatted email to be sent to a {Relationship to Recipient:6} in a {Message Tone:7} tone using British English spelling. The name of the sender is {Sender\’s Name:4}. The name of the recipient is {Recipient\’s Name:5}. The email topic is: {Your Message:8}.
Note: Check that the field names in the prompt corresponds to the correct fields in your form. The ID values of your form fields may differ from the above example.
Map result to Field = AI Response
3) Advanced Settings: Completions
Max Tokens = 500
Temperature = 0.7
Leave all other advanced settings at their default values.
4) Save the Settings
Create the App Page
1) Create a new WordPress Page.
2) Give the page a relevant name.
3) Give the page a relevant URL.
4) (Optional) Use the Blank Slate plugin (free) if you want a clean template for your page with no header, footer or other elements.
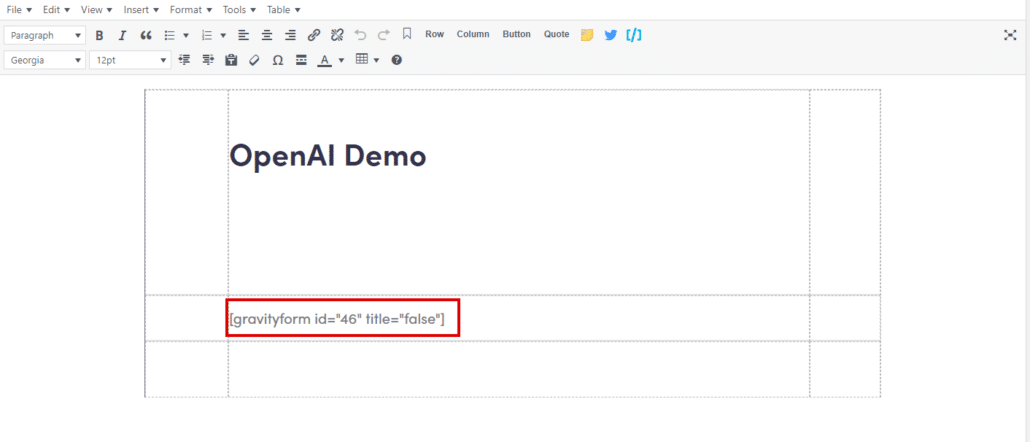
5) Switch to Text view in the WordPress text editor.
6) Paste this HTML table into the page.
7) Switch the text editor to Visual mode.
8) Change the value of the Gravity form shortcode to the ID value of the form you created.
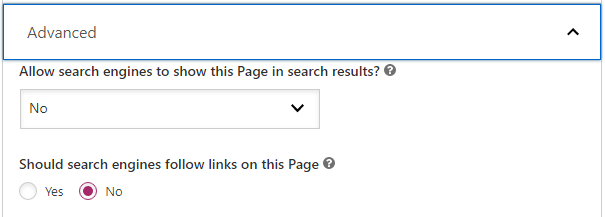
9) (Optional) Update your Yoast Page Settings (if installed) as follows:
Allow search engines to show this Page in search results? = No
Should search engines follow links on this Page = No
10) Preview the page to check everything looks as it should.
11) Publish the page.
Form Confirmation Settings
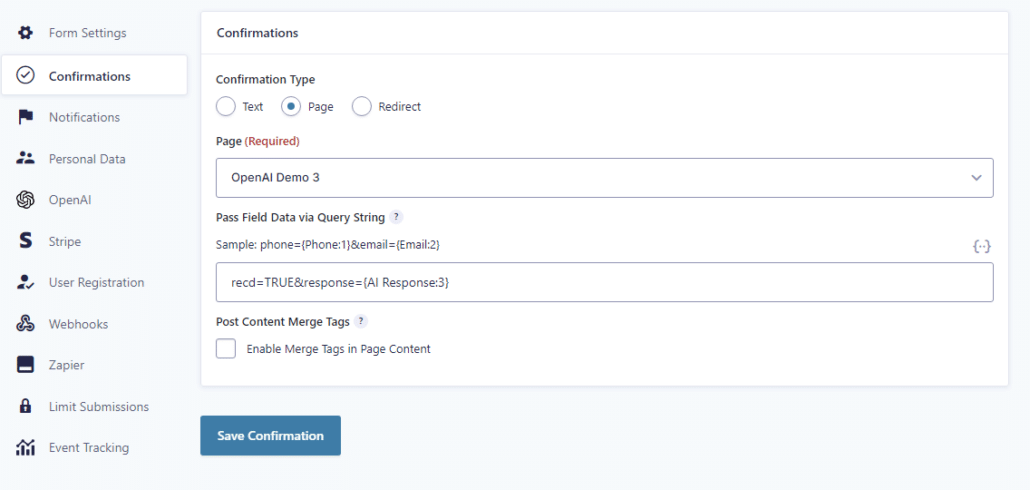
1) Confirmation Type = Page
2) Page = [Name of the page you just created above]
3) Pass Field Data via Query String = recd=TRUE&response={AI Response:3}
Note: Check that the field name in the querystring corresponds to the AI Response field in your form. The ID value of your form field may differ from the above example.
4) Now visit the URL of the page you created to test your app.
Optional Features
The following Gravity Forms Add-on provides additional functionality to your app:
- Reload Form Add-on – This add-on allows your form to be reloaded without reloading the page.
- Gravity Forms Post Content Merge Tags – This add-on allows you to add the OpenAI API response to a merge tag that can be used on any WordPress form, page or post.
- Gravity Forms Limit Submissions – This add-on allows you to limit the number of form submissions by time, user or IP address.
Feel free to adapt the form and API request to adapt it to different use cases.
Although I can’t offer individual support for this free tutorial, please let me know if you run into any bugs or have thoughts on how the tutorial could be adapted.
Check out this list of other GPT-3 scripts I have released and feel free to follow me on Twitter to hear about new releases.
Enjoy!

